Record
Contents
Recording
Consent
Audio waveform
Mini view
Upload audio
Recording settings
Consent settings
Advanced settings
Recording
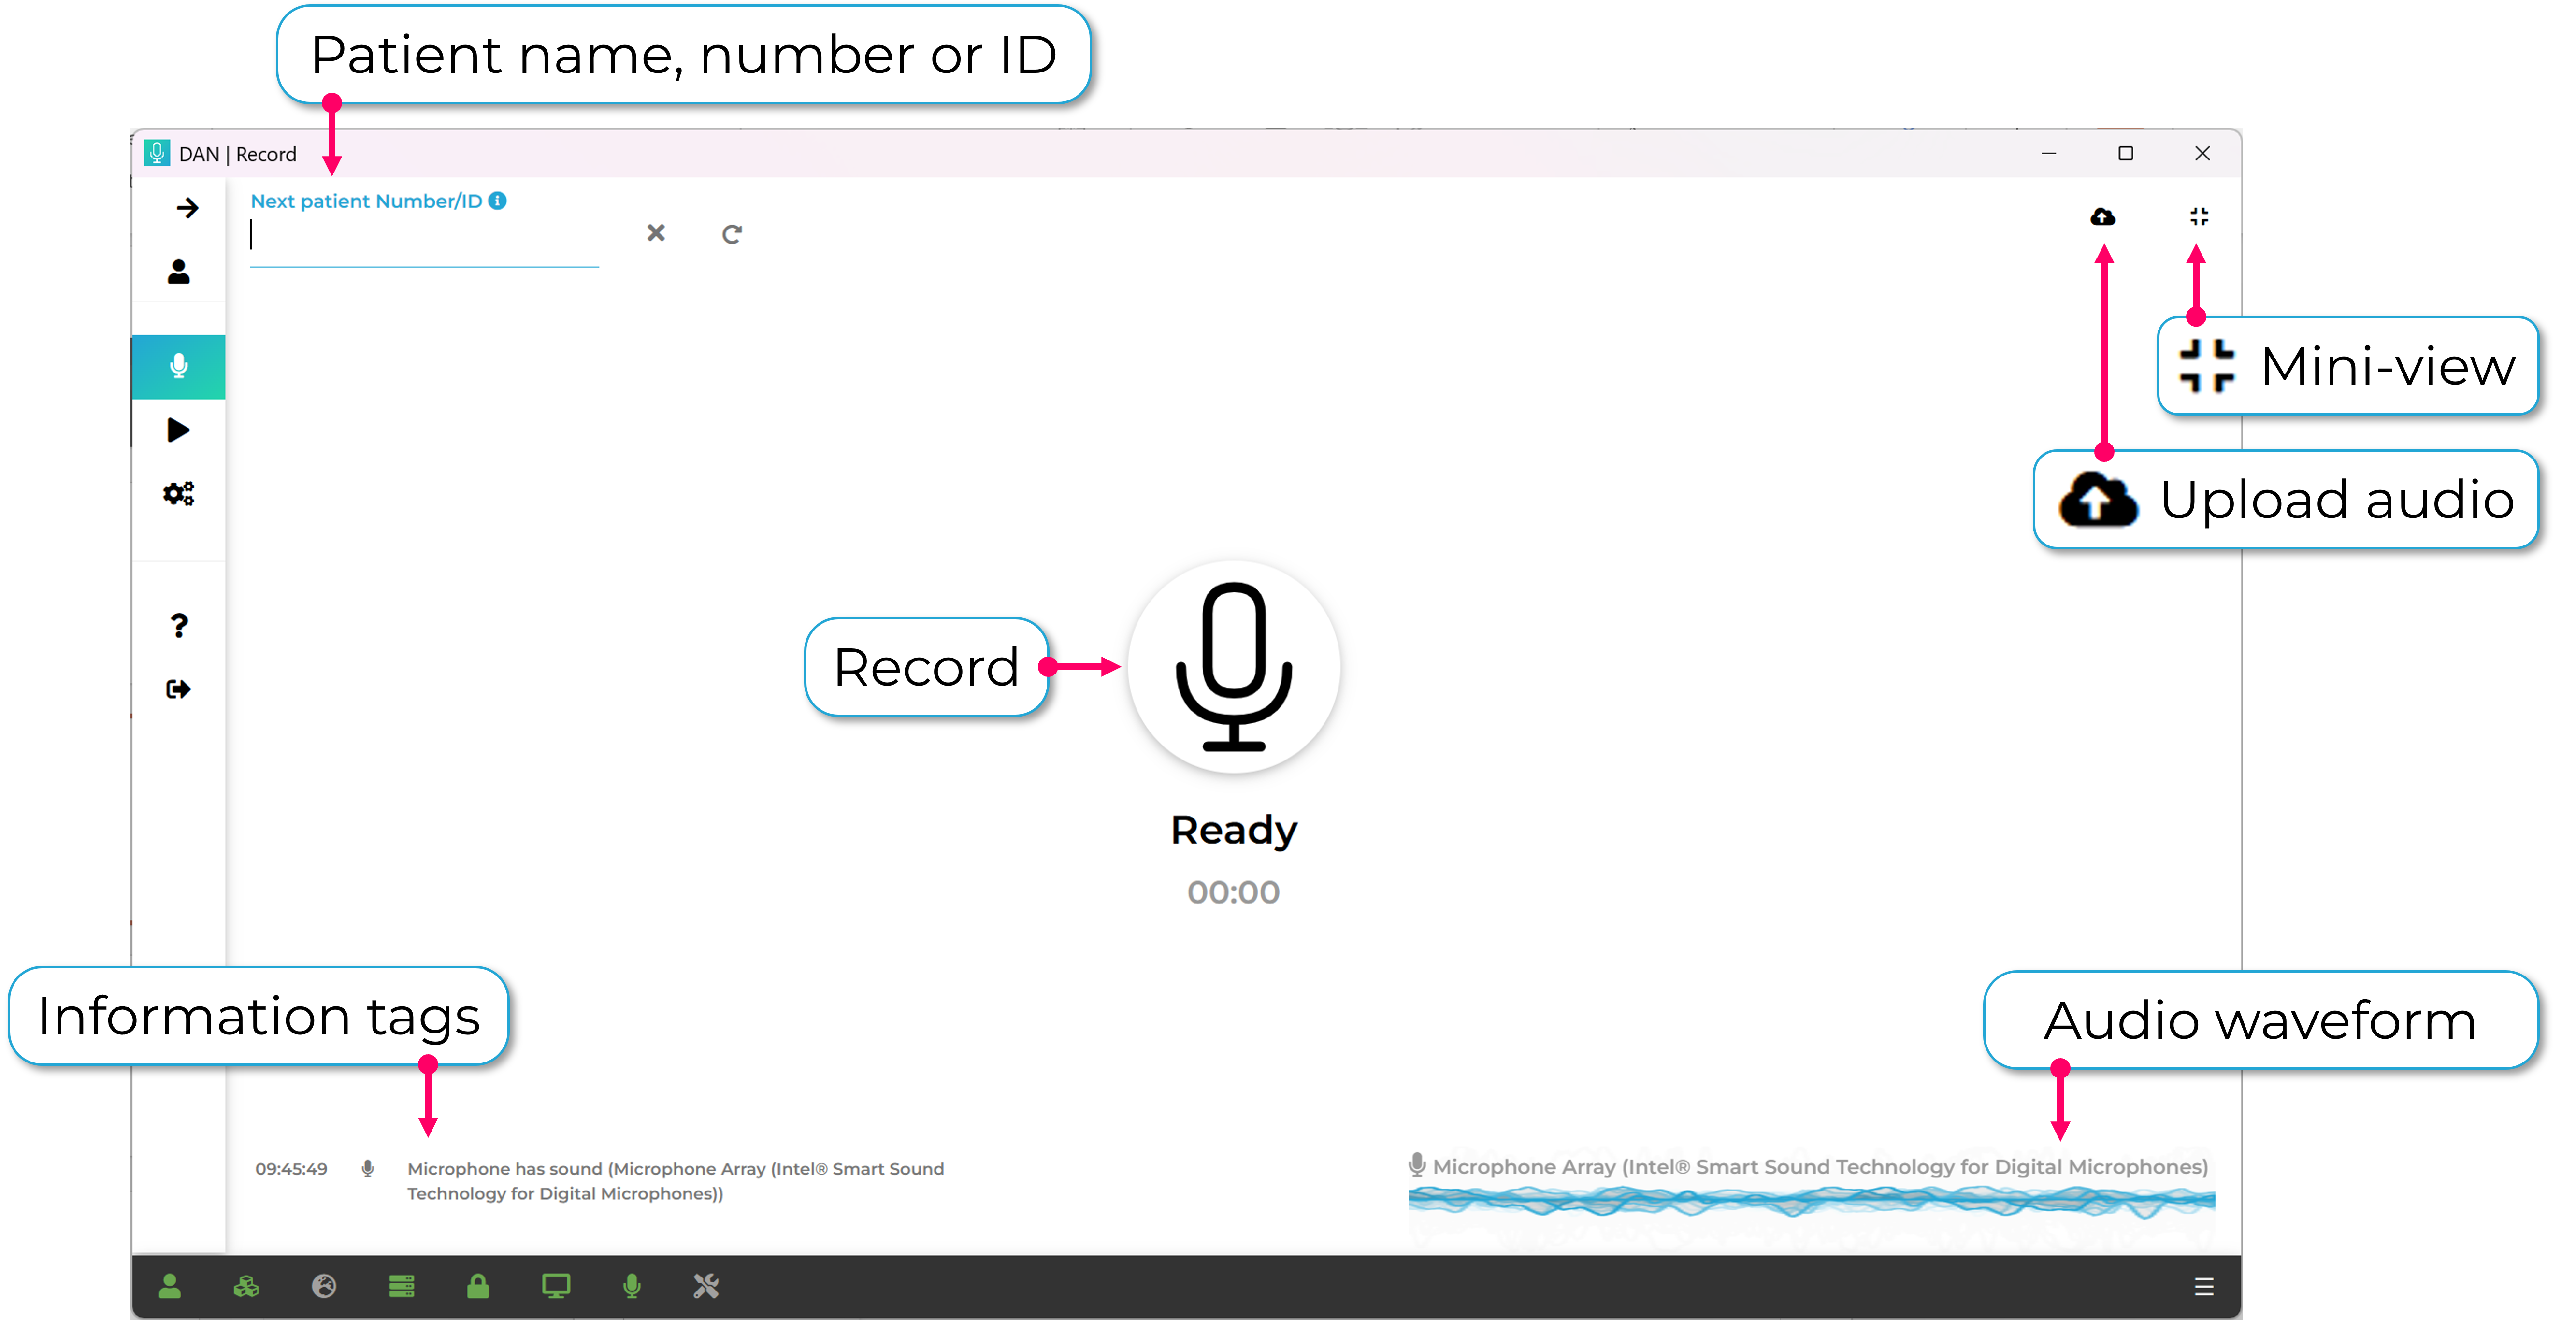
Enter the Patient ID from your practice management system in the input box (top left).
To start and stop recording, simply press the big mic icon in the centre of the screen.
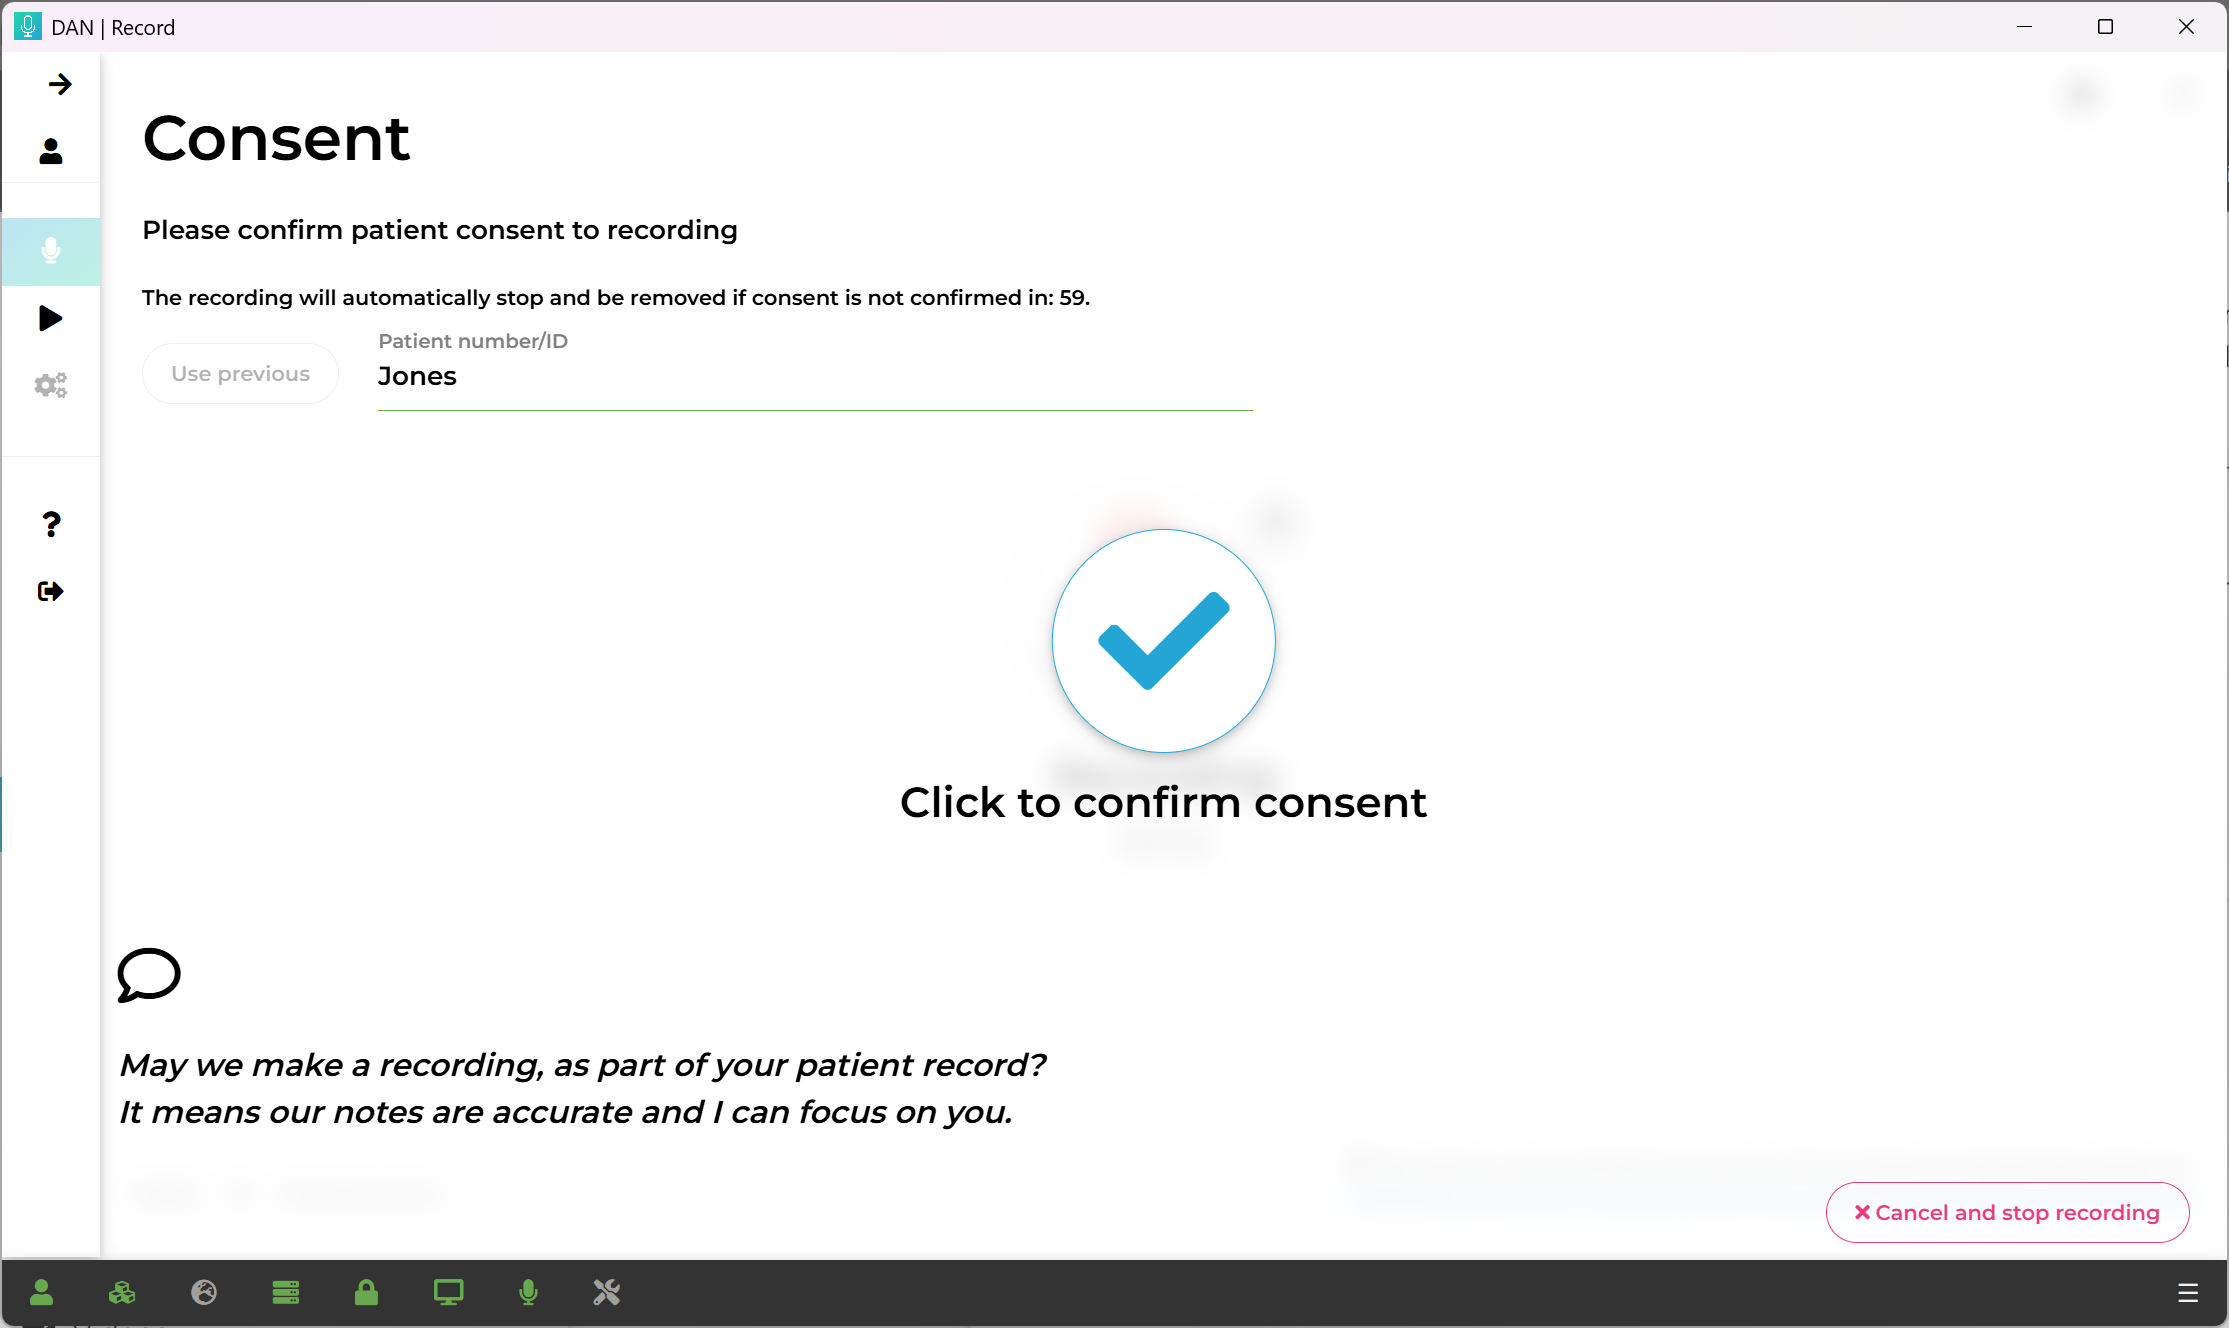
Confirm the patient's consent by pressing the tick icon to make an audio recording.
Stop recording by pressing the mic icon again.
Pause recording by pressing the pause icon . If you start recording again, an additional recording is started and consent will be automatically granted using the same patient ID. Or, press the stop icon to reset for the next patient.
When recording stops, DAN briefly checks that all the audio has been saved and then starts the transcription process. You can start a new recording or navigate away from this page during transcription.
Jump straight to the most recent appointment records by pressing "View previous recording".

^ Contents
Consent
When recording an appointment with a patient, you must confirm the patient's consent to make an audio recording. Insert the patient id, if not done so already, and press "Confirm". The patient id you enter here will allow you to search for all recordings of this patient in playback.
If consent is not confirmed within 1 minute, then the recording will stop automatically and nothing will be saved. Alternatively, press "Cancel and stop recording".
^ Contents
Audio waveform
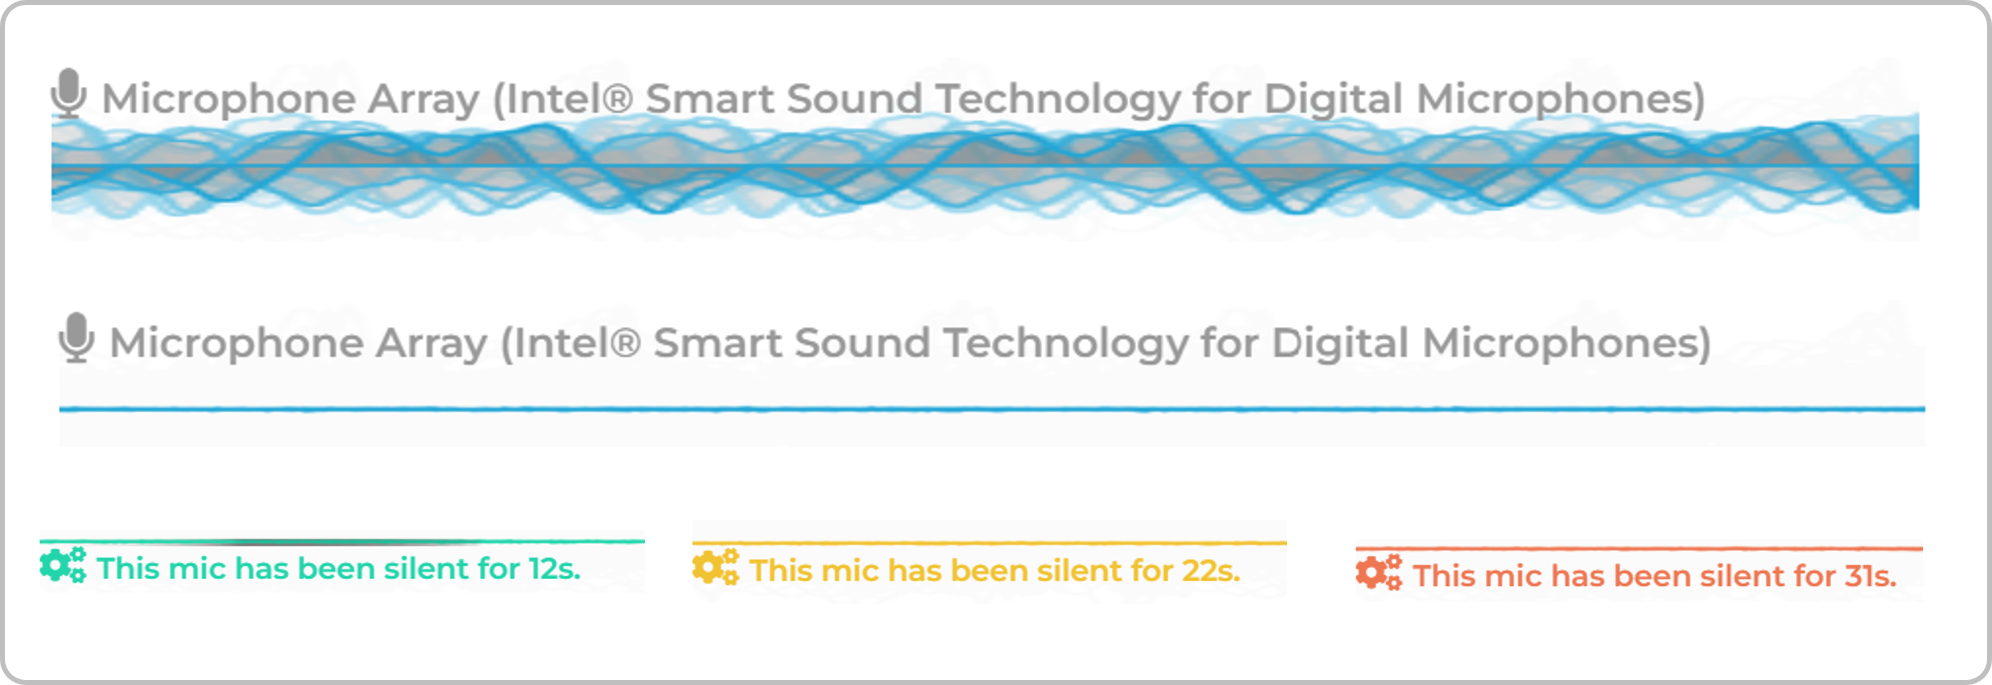
The waveform makes it quick to check your microphone is working properly. If the waveform is flat, DAN is not receiving audio. The graphic will transition from blue to red, and DAN will provide an audible notification during continued silence.
If the waveform is silent, we recommend the following checks:
- Is the correct microphone selected? If your microphone is not picking up audio, it may be that the wrong microphone is selected in the DAN settings.
- Is the microphone muted? A single short press of the power button on many wireless microphones mutes the audio. Short-press again to unmute.
- Is the microphone (and receiver) plugged in and powered on? Always worth checking. If you are using a wireless microphone, check the receiver connection into the computer and that it remains powered on for more than a minute.
Mini view
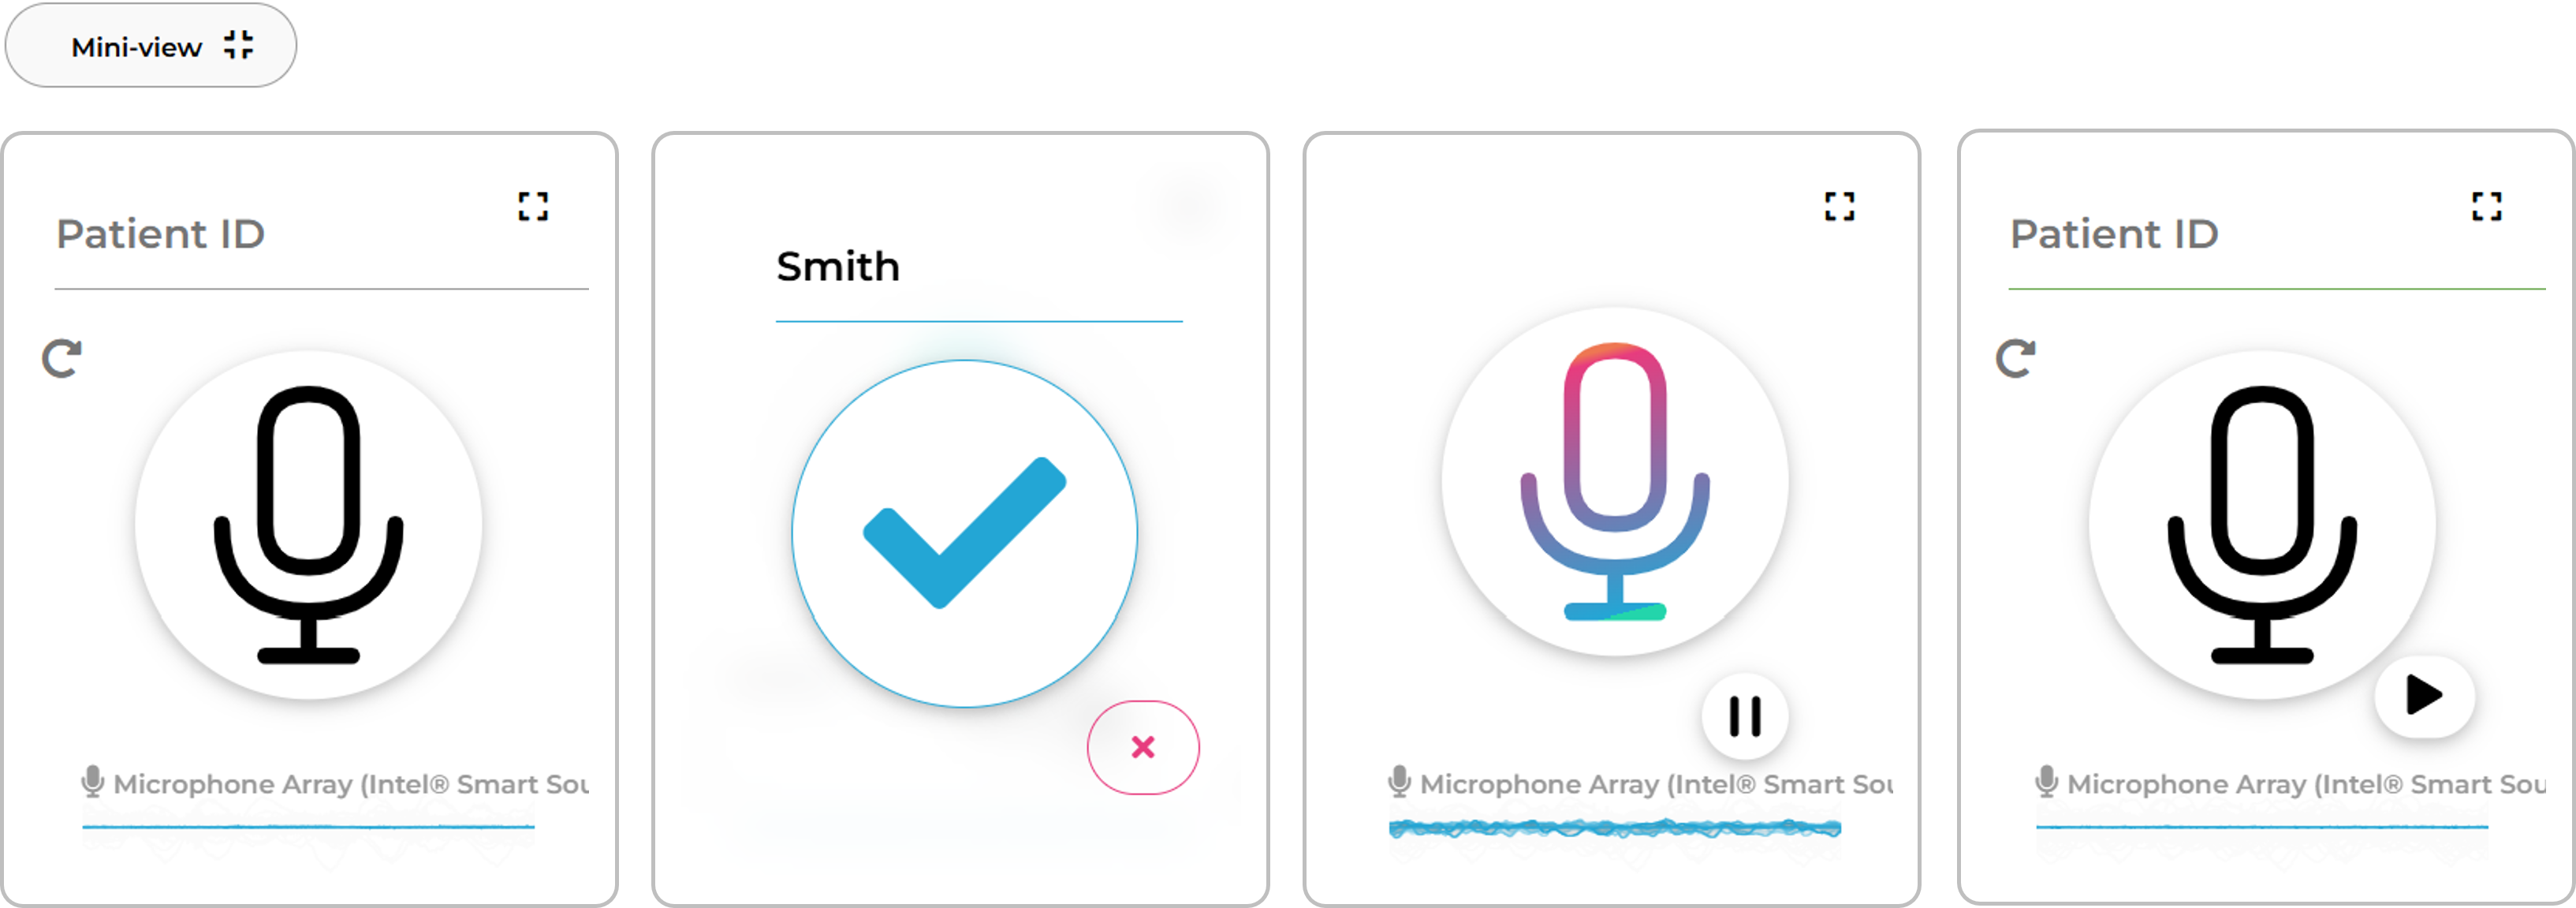
The mini-view displays DAN as a small, always on-top window. Helpful if you want visibility of DAN while working on other applications. Press "Mini-view" to switch to this interface, and to revert back to normal.
Upload audio
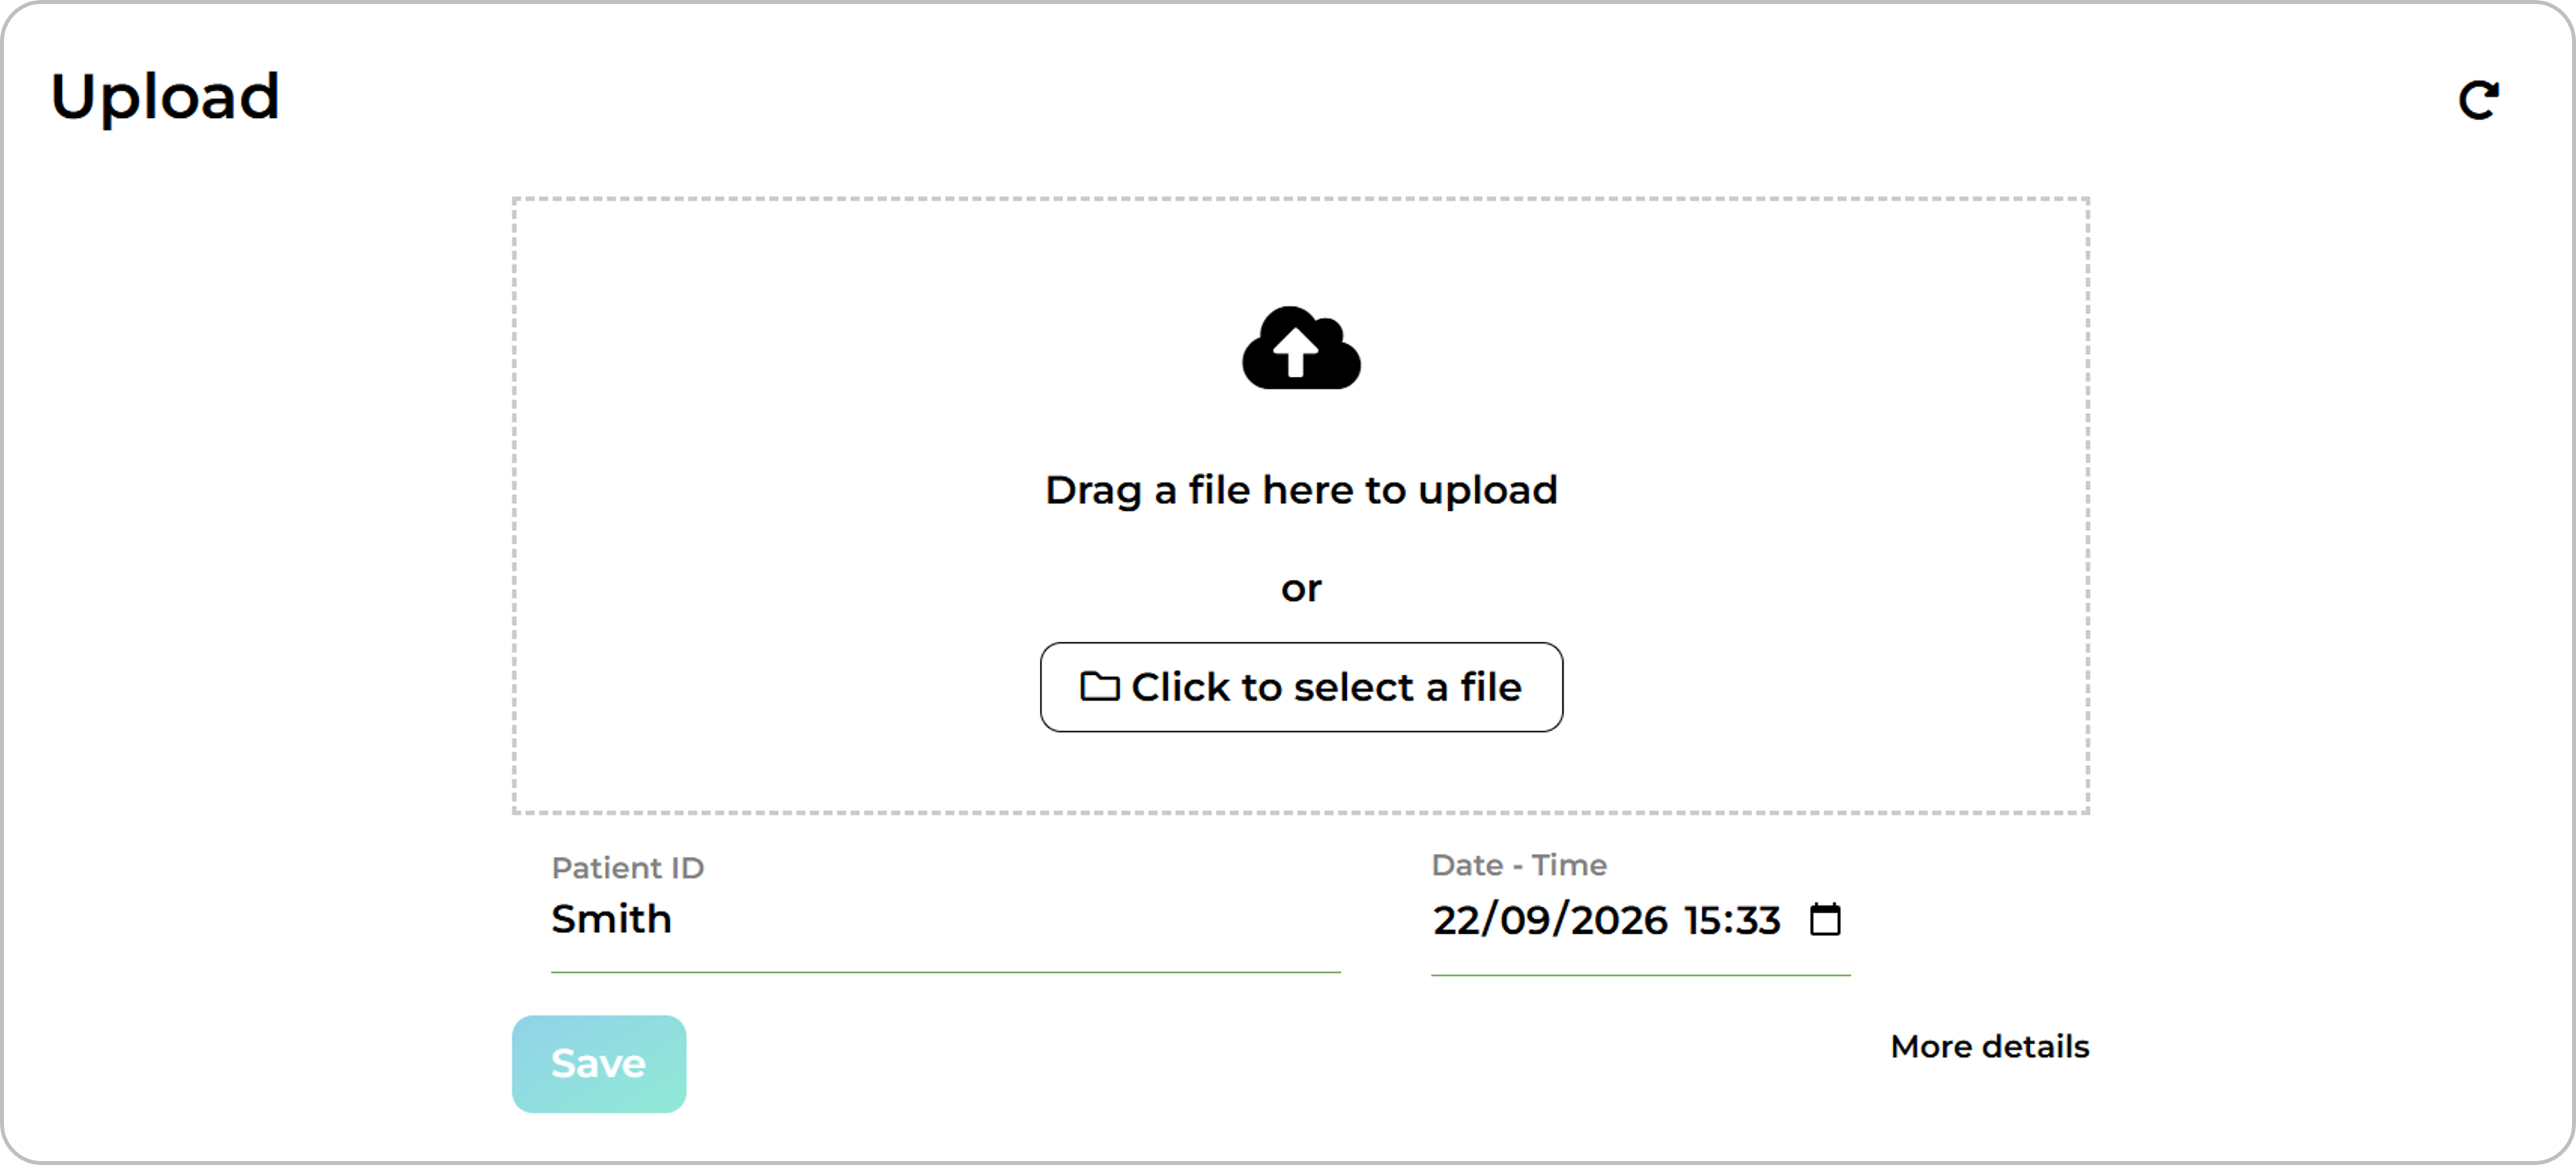
You can upload existing audio into DAN. Press the "Upload" button to view the upload page.
Select or drag and drop your audio file, enter the patient id, and press "Save". The audio is encrypted, uploaded, saved, and sent for transcription.
Recording settings
Press the settings icon . Audio is the first section.
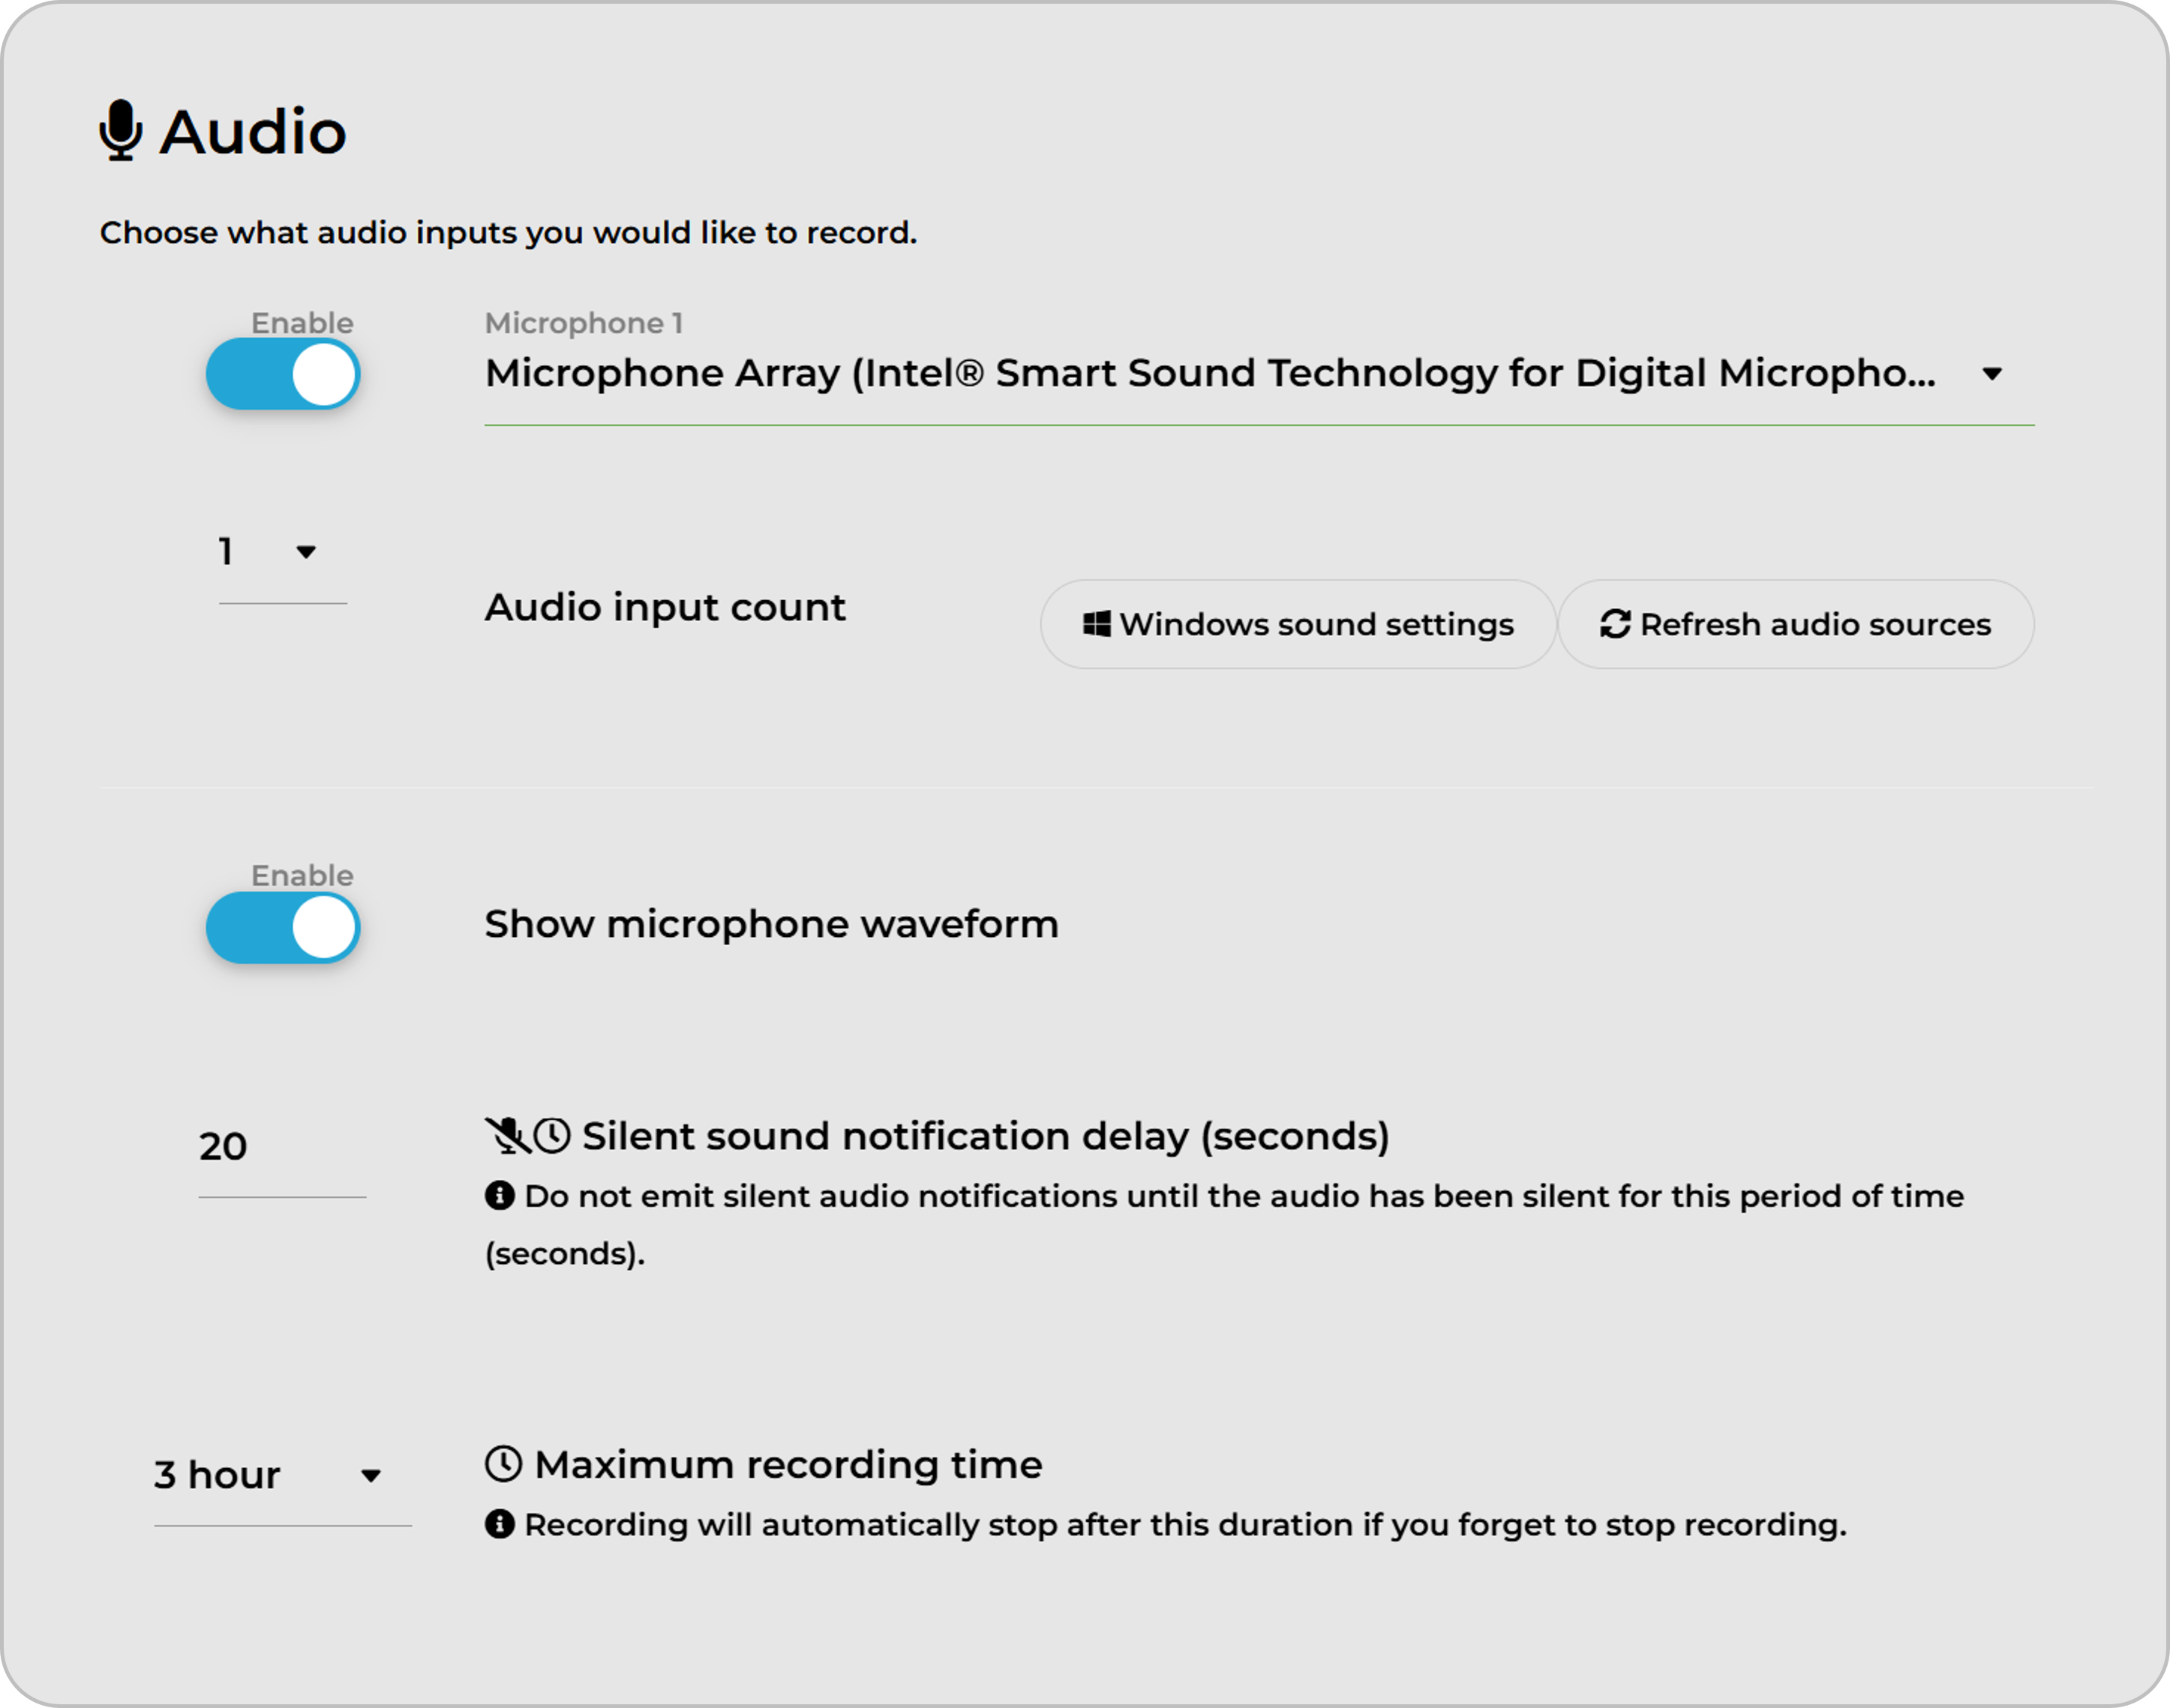
Microphones Select your preferred microphone from the drop down. If you cannot see your preferred mic, check that it is plugged in, powered on, and connected.
If you need to, you can open Windows sound settings directly and Refresh the list of audio inputs.
Audio input count DAN allows you to record up to three separate audio inputs at the same time to cater for multiple use cases.
Show microphone waveforms: show or hide the microphone waveforms on the record page.
Silent sound notification delay DAN will provide audio notifications after the audio has been silent for a period of time.
Maximum recording time Recording will automatically stop after this duration if you forget to stop recording.
Recording Web-Ex Consultations
Recording a remote Web-Ex consultation requires two audio inputs to be enabled; (1) your local mic, and (2) the internal audio from your PC. The internal audio is captured from a virtual microphone, provided by the soundcard of your PC. This is typically named "Stereo Mix", but this may vary in your PC. If you cannot see an option called "Stereo Mix", this article provides more information.
^ Contents
Consent settings
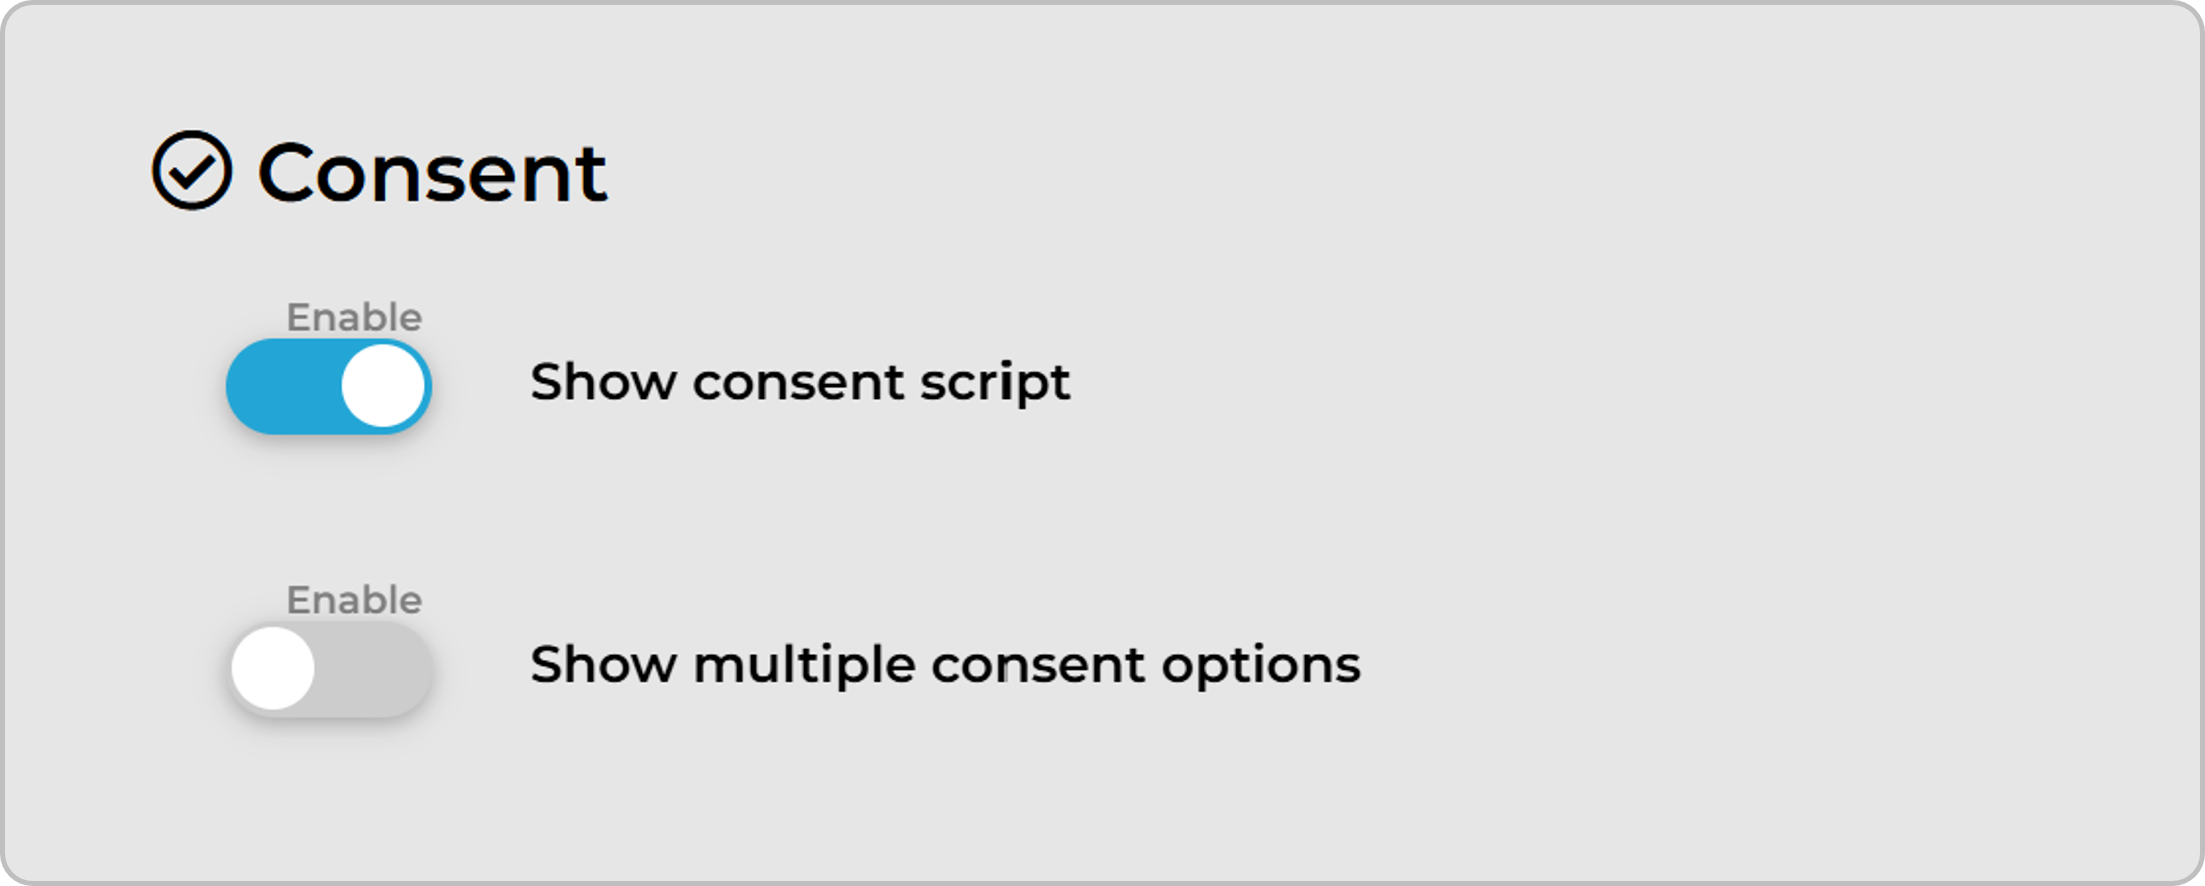
Show script: show or hide the consent script displayed on the consent page.
Show multiple consent options: show or hide multiple consent options displayed on the consent page.
In addition to "for the patient record", we provide the option to document consent for "quality control" and "team learning". If you wish to use a recording for these additional purposes, you should explicitly ask for permission for each purpose in your consent statement.
^ Contents
Advanced settings
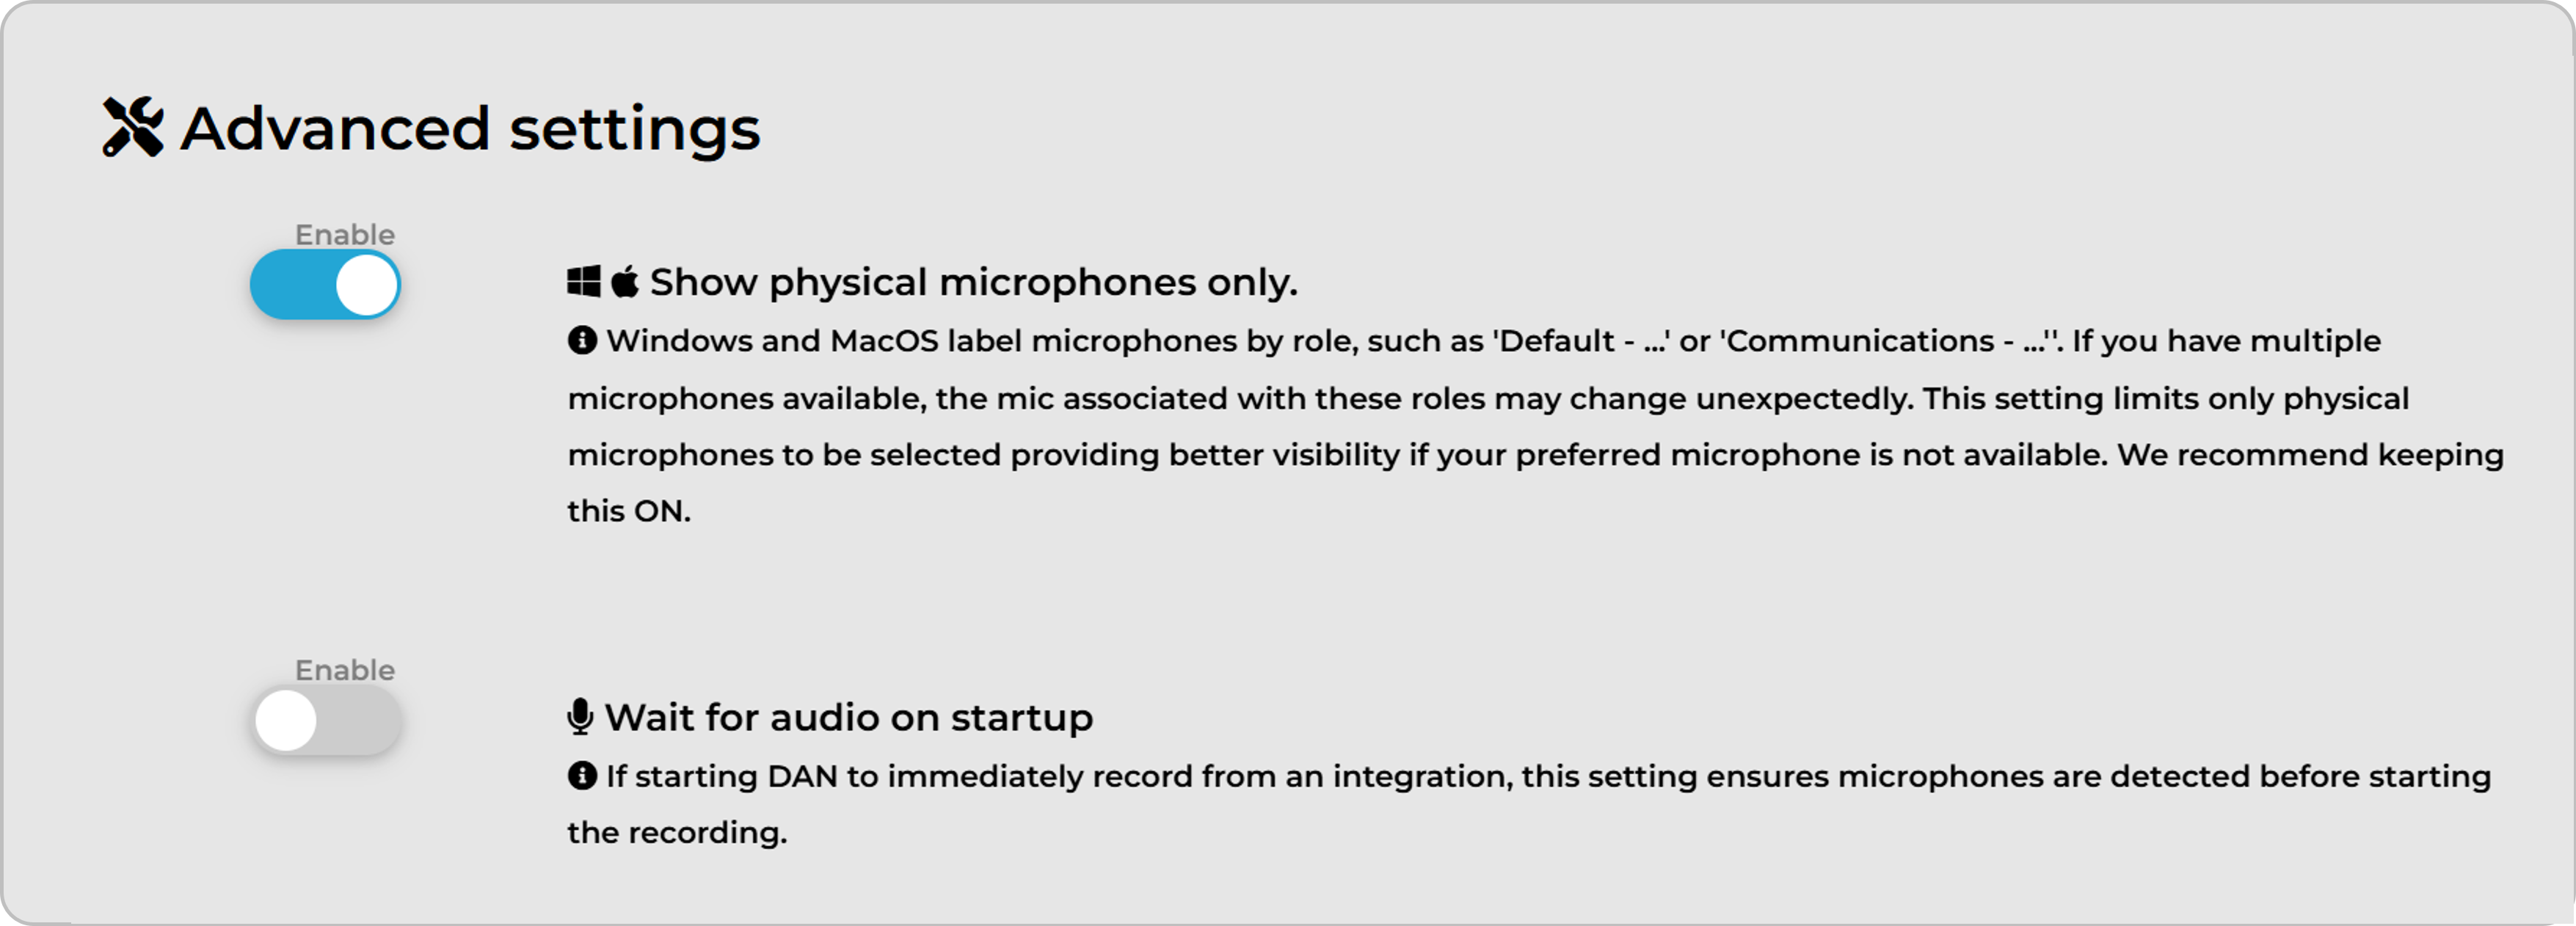
Show physical microphones only: Windows creates a virtual copy of a microphone, labeling them by role, such as "Default - ..." or "Communications - ...". The physical microphone associated with these roles may change unexpectedly. This setting limits only physical microphones to be selected. We recommend keeping this ON.
Wait for audio on startup: If needed, this setting ensures microphones are detected before progressing past the startup page.
^ Contents